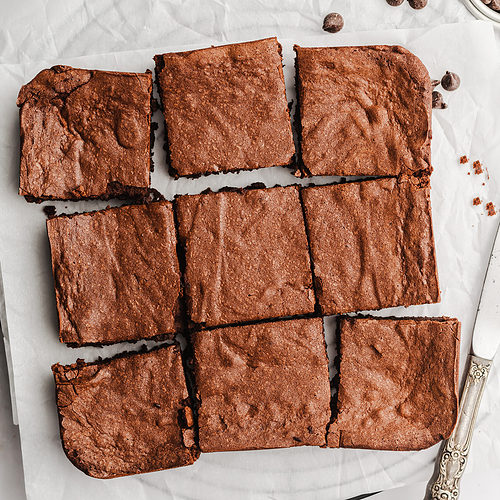
Mochi Brownies
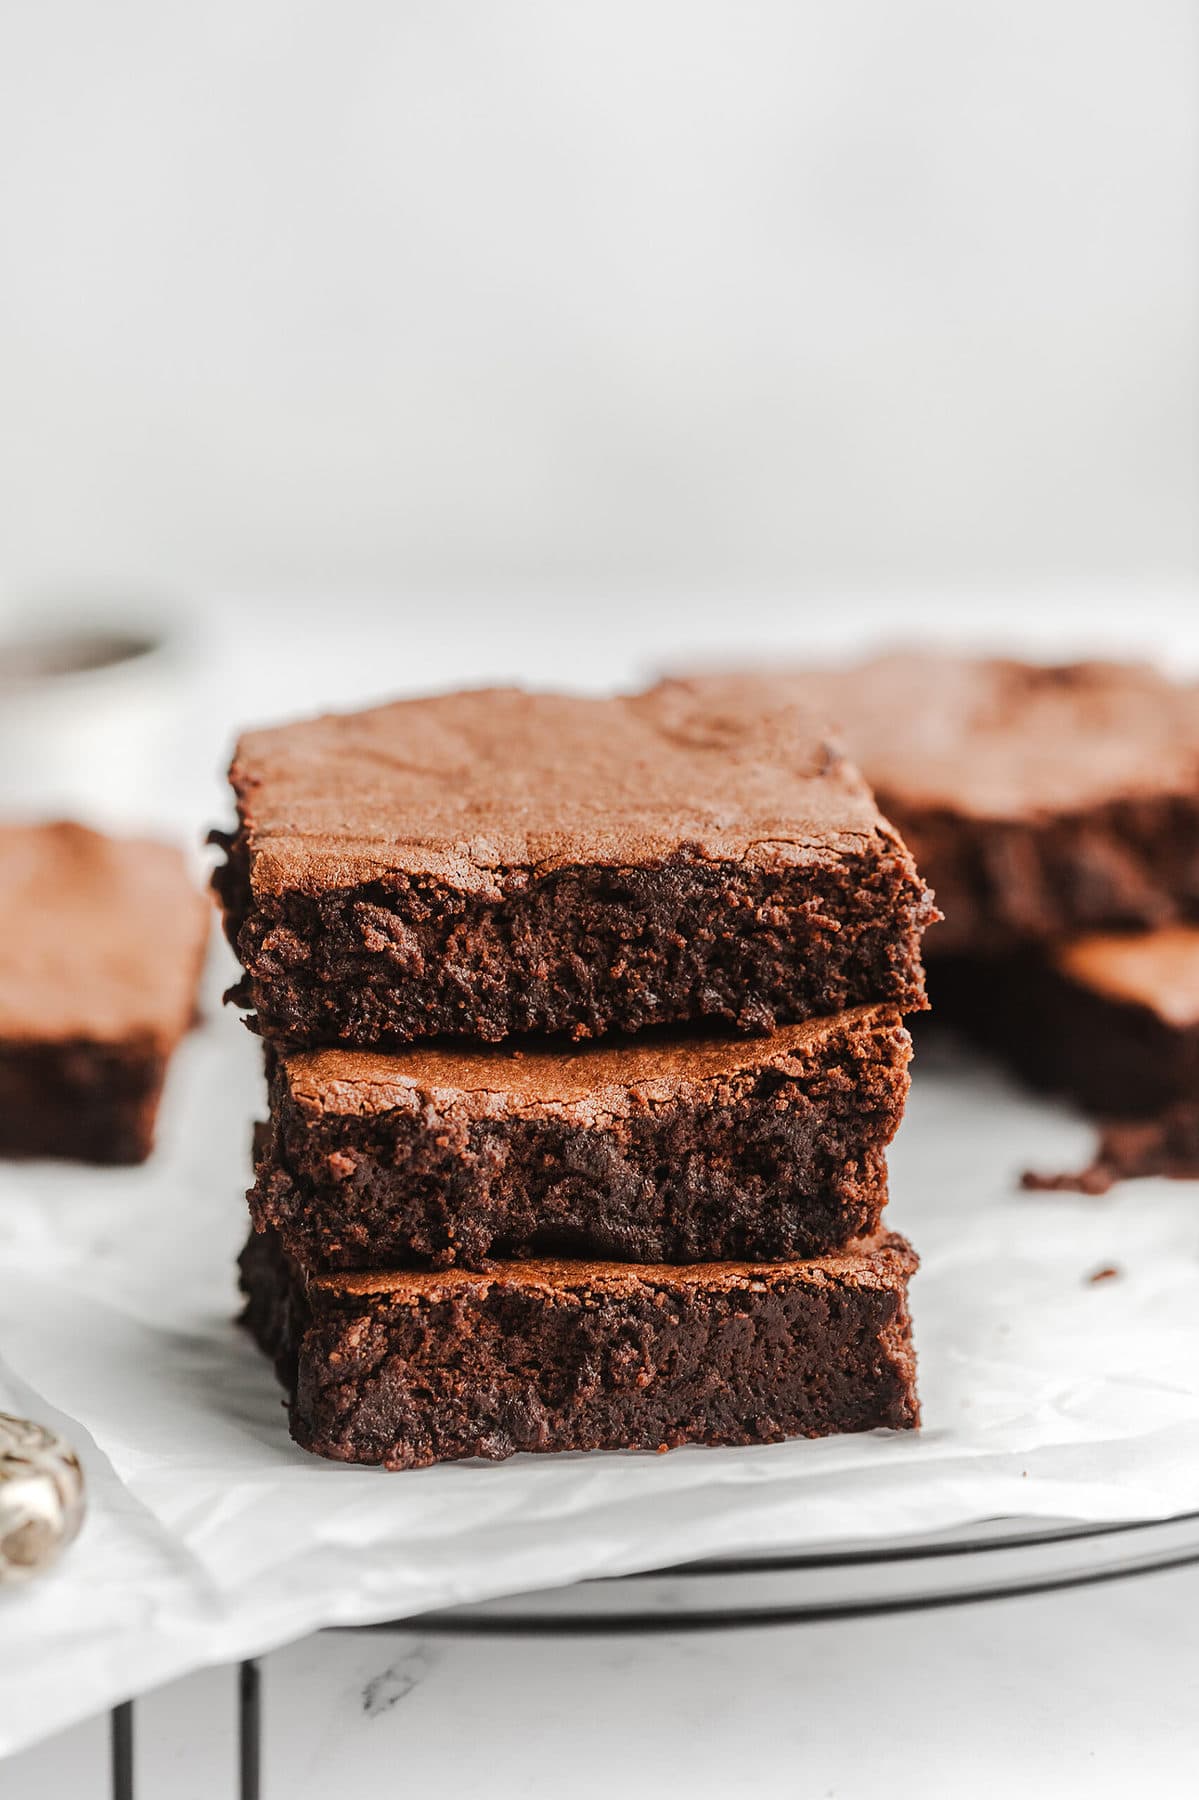
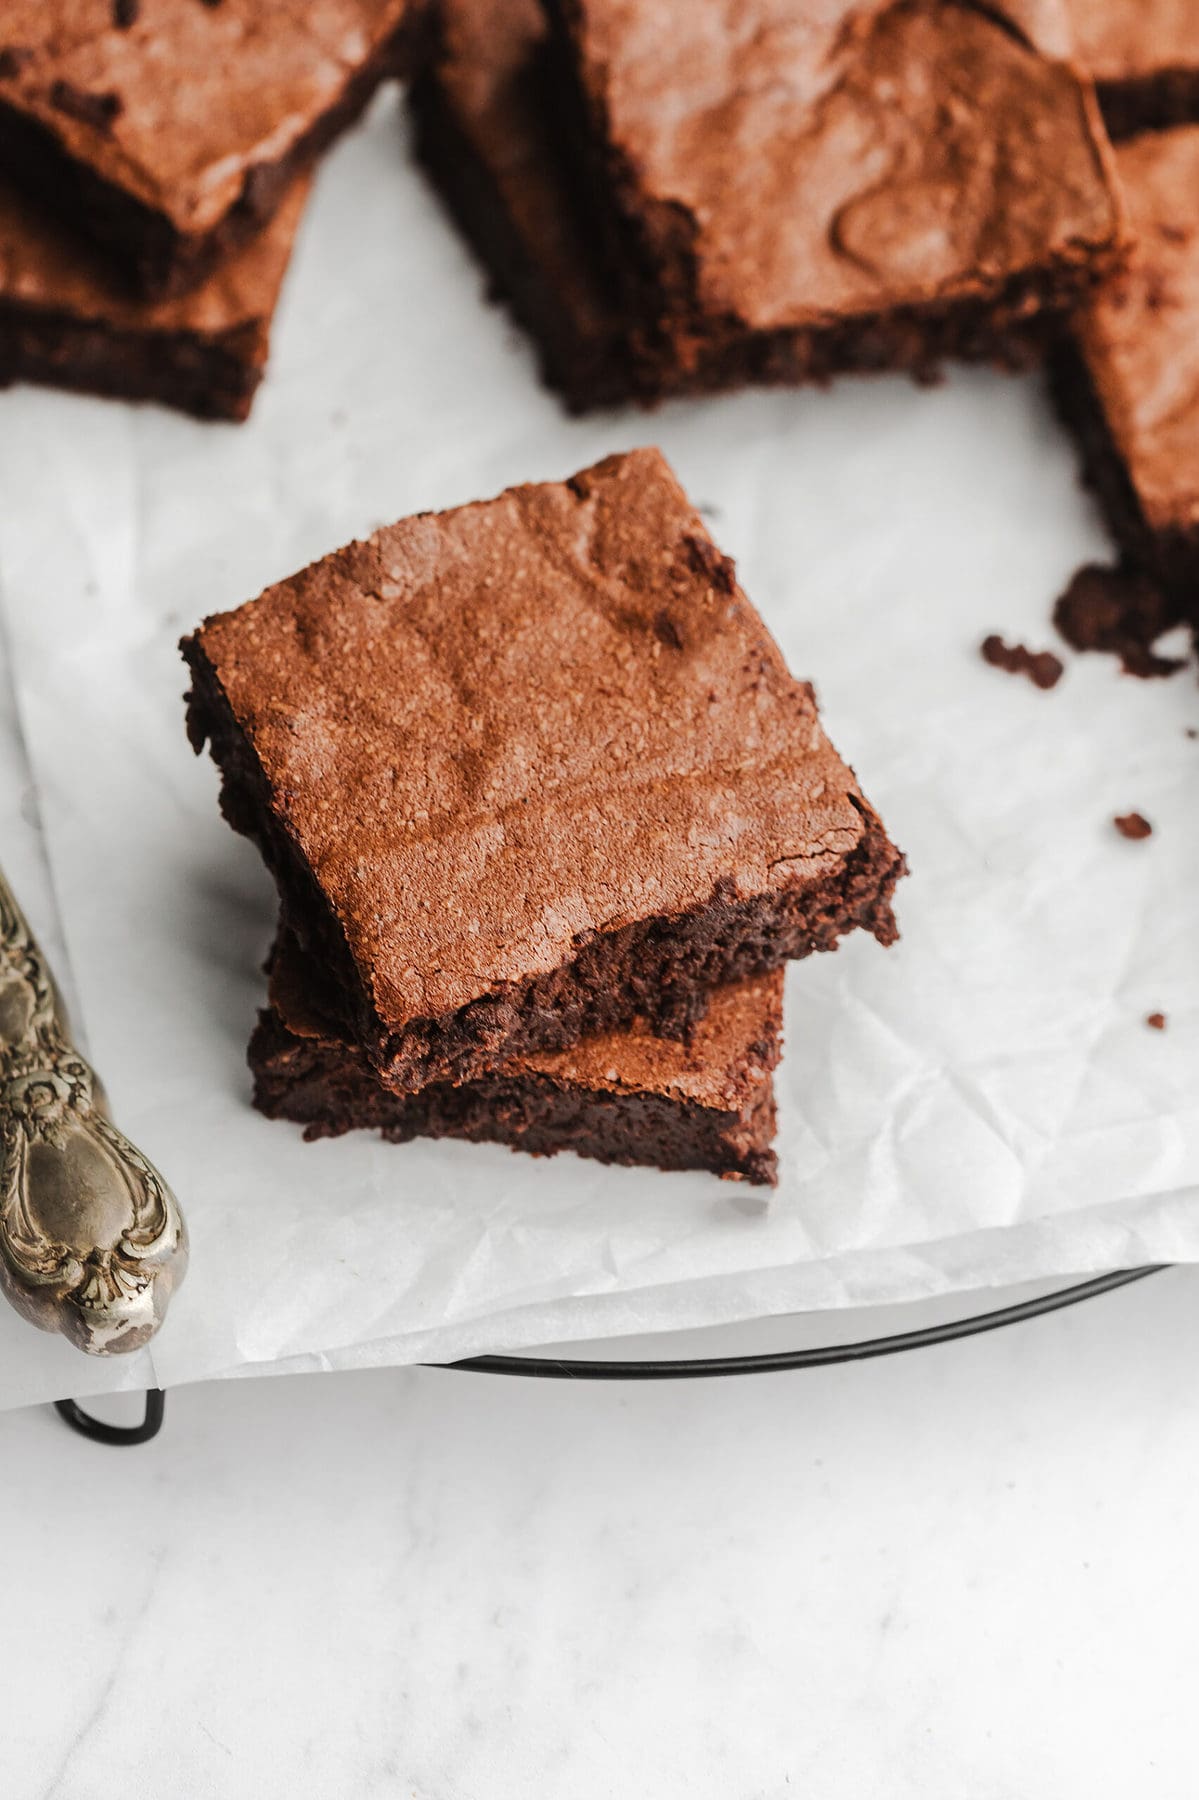
Chewy, fudgy mochi brownies are an incredible gluten-free alternative to traditional brownie recipes that taste as delicious as the originals. Made with sweet rice flour and two kinds of chocolate, they’re guaranteed to satisfy any sweet tooth.
🍫 What Makes This Recipe So Good
- These mochi brownies are absolutely everything you’d hope for in a brownie recipe! Fudgy and rich with a beautiful crackly top, chewy edges, and tons of chocolatey flavor. All of that, and yet, no gluten.
- Rather than using an all-purpose gluten-free flour or almond flour for the base of these brownies, we’re using mochiko flour to get that dreamy texture. You can typically find it online or at larger grocery stores.
🍚 What is Mochiko Flour?
Mochiko flour is a sweet rice flour that’s commonly used to make mochi or dango – thick, chewy, stretchy Japanese sweet treats that can be made with a variety of flavors and fillings. You may have even seen mochi ice cream at the store. Read more about mochi and dango here.
The flour is made from grains of sweet rice known as mochigome. It’s pretty neutral in flavor, so it’s great in a variety of recipes – like these mochi brownies. It really lets the chocolate shine!
👩🏼🍳 Chef’s Tips
- For best results, be as exact as possible with your mochiko flour measurements. You can measure it with a food scale, or you can use the spoon & level method with a measuring cup. All that means is, instead of sticking the measuring scoop right into the flour, use a spoon to scoop the flour into the cup. Once the cup’s filled, use the side of a knife to level off the top of the flour, even with the edge of the measuring cup. This method helps ensure you don’t end up with too much flour.
- To check if the mochi brownies are fully baked and ready to be removed from the oven, all you need is a knife or a toothpick. Whichever utensil you use, insert it into the very center of the pan of brownies, and then gently take it right back out. If it comes out basically clean or moist with a few crumbs, you can take the pan out of the oven. If it comes out with a ton of crumbs (or even with batter) then it needs more time.
- If you want really chewy brownies, don’t slice into them right away! Let the brownies rest in the pan for about 10 minutes, then transfer them to a cooling rack. That 10 minutes may not seem like much, but it’s the difference between dry, crumbly brownies and rich, chewy brownies.
Check Out These Recipes While You’re Here!
- 3-Ingredient Banana Pudding
- Creamy Rotel Pasta with Ground Beef
- Chicken Almondine
- Banana Custard
- Kylie Jenner’s Ramen Noodles
- Creamy Veg-All Casserole with a Buttery Cracker Topping
- Gluten-Free Cut-Out Christmas Cookies
- Dairy-Free Brownies
Mochi Brownies
Equipment
- 8×8 baking pan
- neutral cooking spray
- parchment paper
- small saucepan
- silicone spatula
- medium mixing bowl
- whisk
- stand mixer bowl (or large mixing bowl)
- stand mixer (or hand mixer)
- toothpick (or knife)
- wire cooling rack
Ingredients
- ¾ cup mochiko flour (111 grams)
- ½ teaspoon salt
- ⅓ cup unsweetened cocoa powder
- 2 large eggs
- 1 cup granulated sugar
- ½ cup 72% dark chocolate chips (or semi-sweet chocolate chips)
- 5 tablespoons unsalted butter
- ½ cup milk of choice
Instructions
- Preheat oven to 350° Fahrenheit. Lightly grease baking pan with cooking spray, then line baking pan with parchment paper. Set aside.
- Add mochiko flour, salt, and unsweetened cocoa powder to medium mixing bowl. Whisk ingredients together until blended. Set bowl aside.
- Heat small saucepan over low heat. When pan is warm, add butter and chocolate chips. Use silicone spatula to stir butter and chocolate constantly until ingredients are fully melted. When ingredients are combined and mixture is glossy and smooth, remove saucepan from heat and set aside.
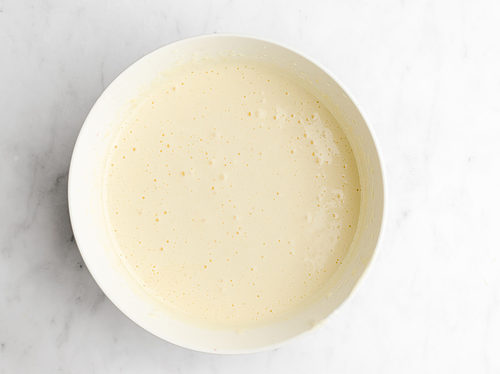
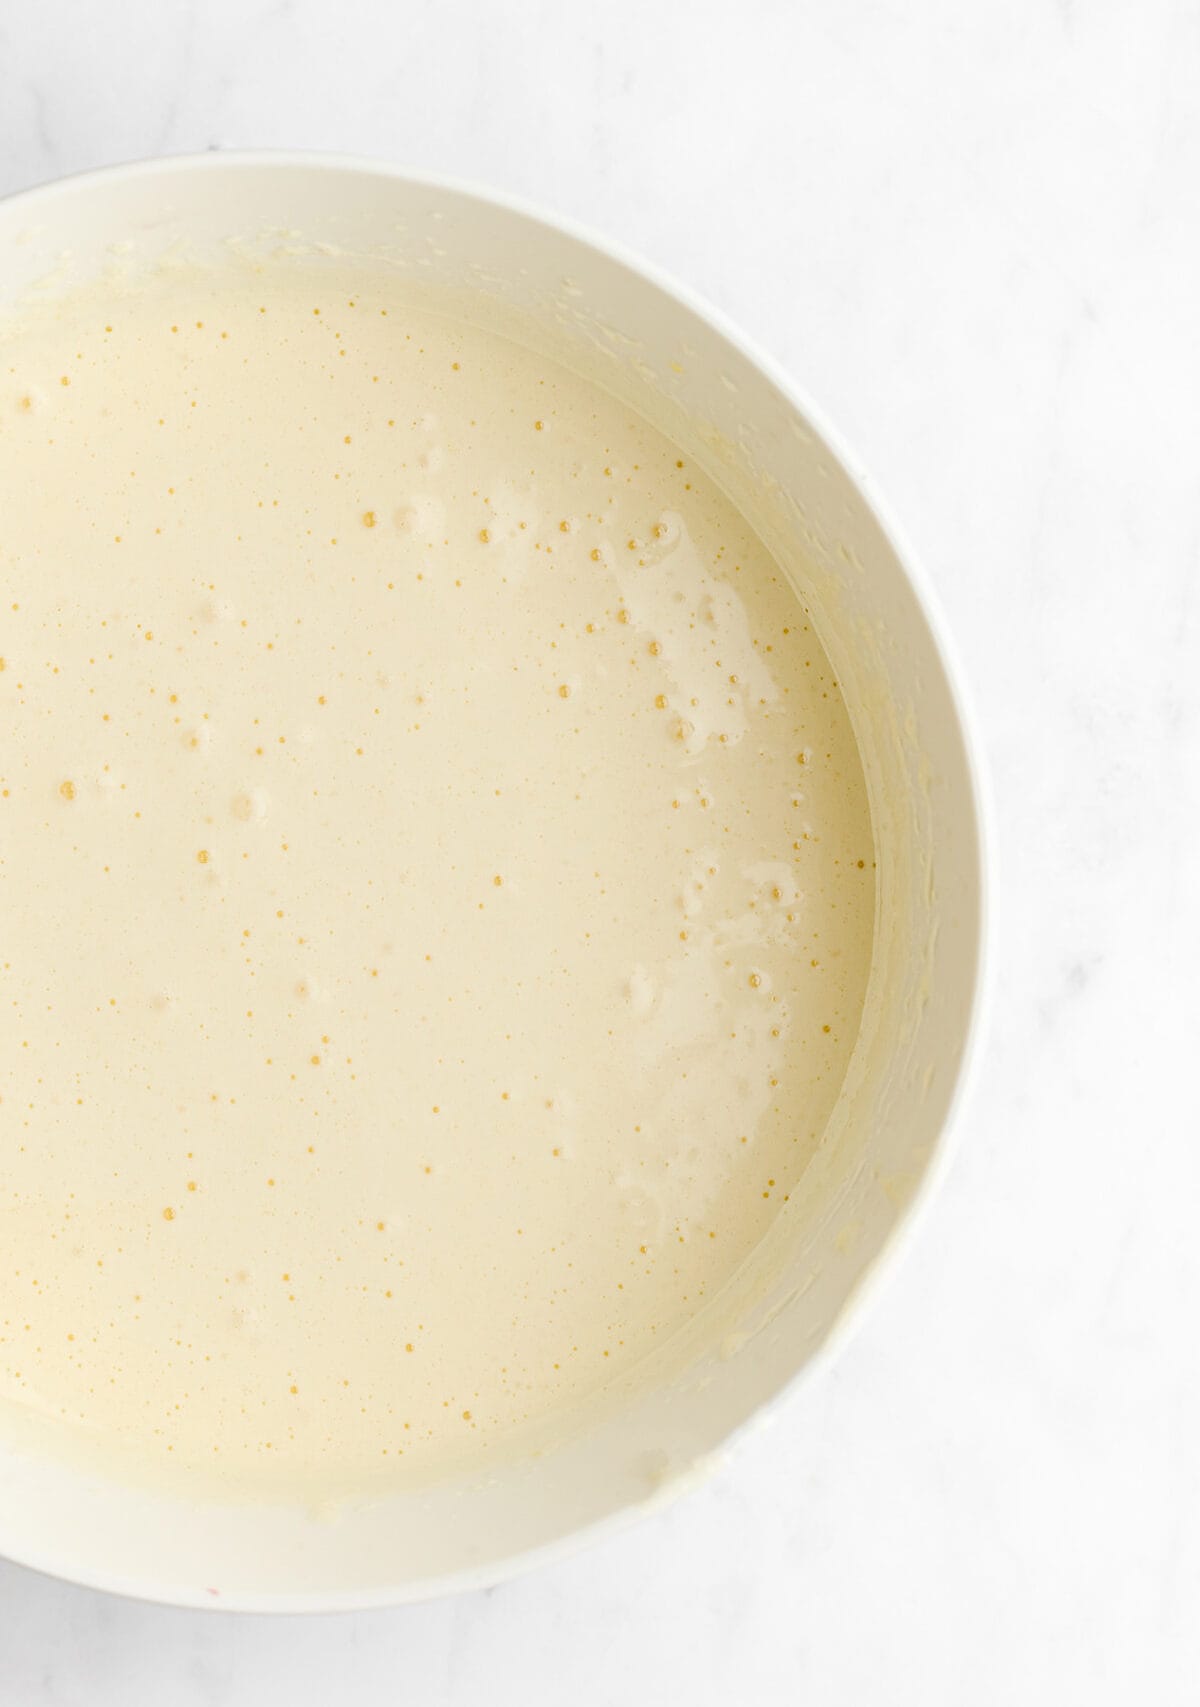
- Crack eggs directly into large mixing bowl. Add granulated sugar, then use mixer fitted with whisk attachment to mix ingredients together. Mix on low speed 30 seconds, then increase speed to high and mix until mixture is fluffy, thick, and approximately doubled in volume.
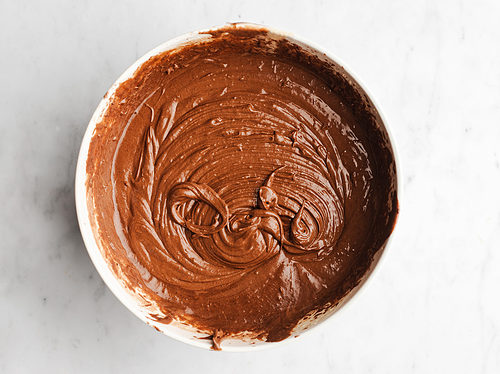
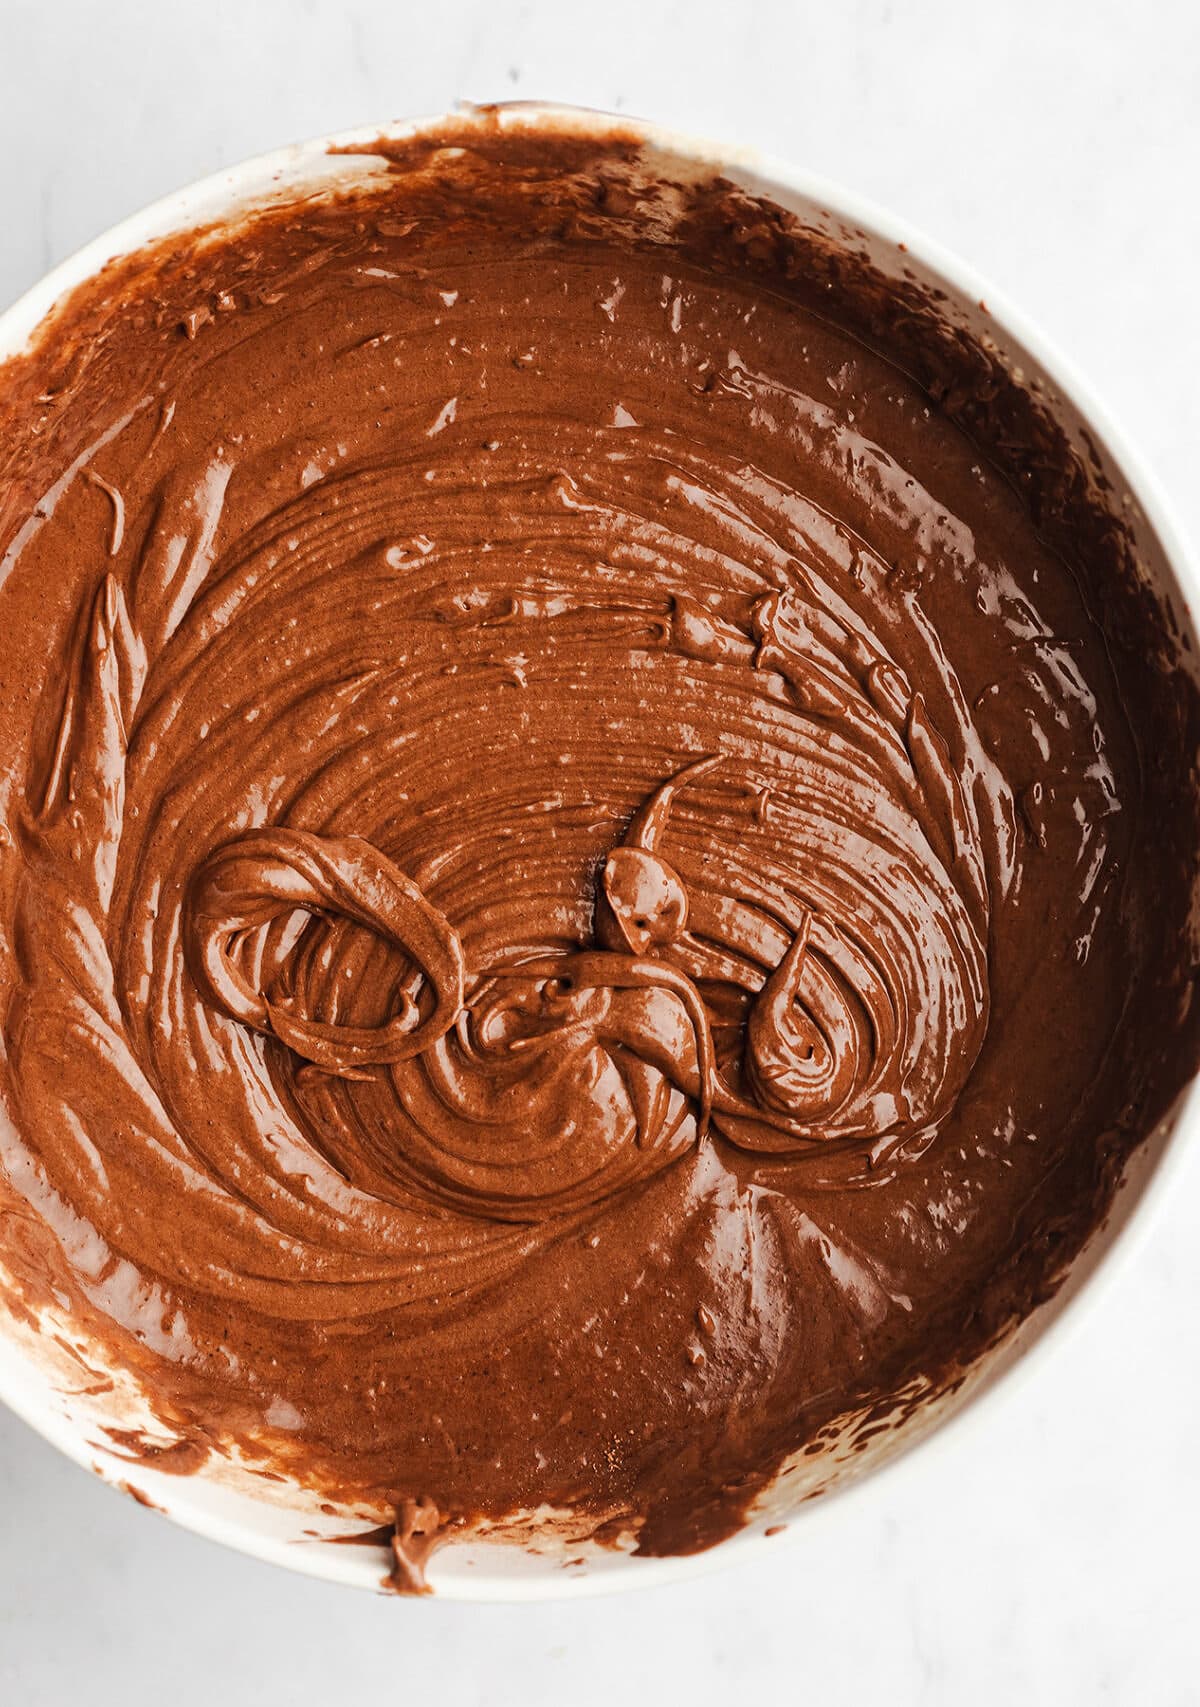
- Add flour mixture, melted chocolate, and milk of choice to mixing bowl with eggs. Mix ingredients together on medium speed 2 minutes, or until ingredients are fully incorporated and brownie batter forms. Be careful not to overmix. Use spatula to scrape down sides of bowl as needed.
- Transfer brownie batter to prepared baking pan. Spread batter out to cover pan completely in one even layer. Place pan in oven and bake 30 minutes.
- After 30 minutes, use toothpick or knife to check doneness of brownies. Continue baking as needed, checking doneness every 1 to 2 minutes, until toothpick or knife inserted into center of brownies comes out cleanly or with few moist crumbs.
- When brownies are fully baked, carefully remove pan from oven. Set pan aside and let brownies cool 10 minutes. After 10 minutes, gently lift brownies out of baking pan. Transfer brownies to wire cooling rack and let brownies rest until completely cooled. Serve as desired.
Notes
- Cook times will vary depending on a number of factors including oven type, oven age, kitchen altitude, type of baking pan, temperature of batter, etc. Check doneness often to avoid overbaking brownies.
Recipe costs provided are approximate. Actual cost per recipe & serving will vary by location, store, brand, etc. Approximate cost shown does not include costs for any optional ingredients.
Nutrition
Nutrition Disclaimer
Number of total servings shown is approximate. Actual number of servings will depend on your preferred portion sizes. Nutritional values shown are general guidelines and reflect information for 1 serving using the ingredients listed, not including any optional ingredients. Actual macros may vary slightly depending on specific brands and types of ingredients used. To determine the weight of one serving, prepare the recipe as instructed. Weigh the finished recipe, then divide the weight of the finished recipe (not including the weight of the container the food is in) by the desired number of servings. Result will be the weight of one serving.