Red Velvet Cake Mix Cookies


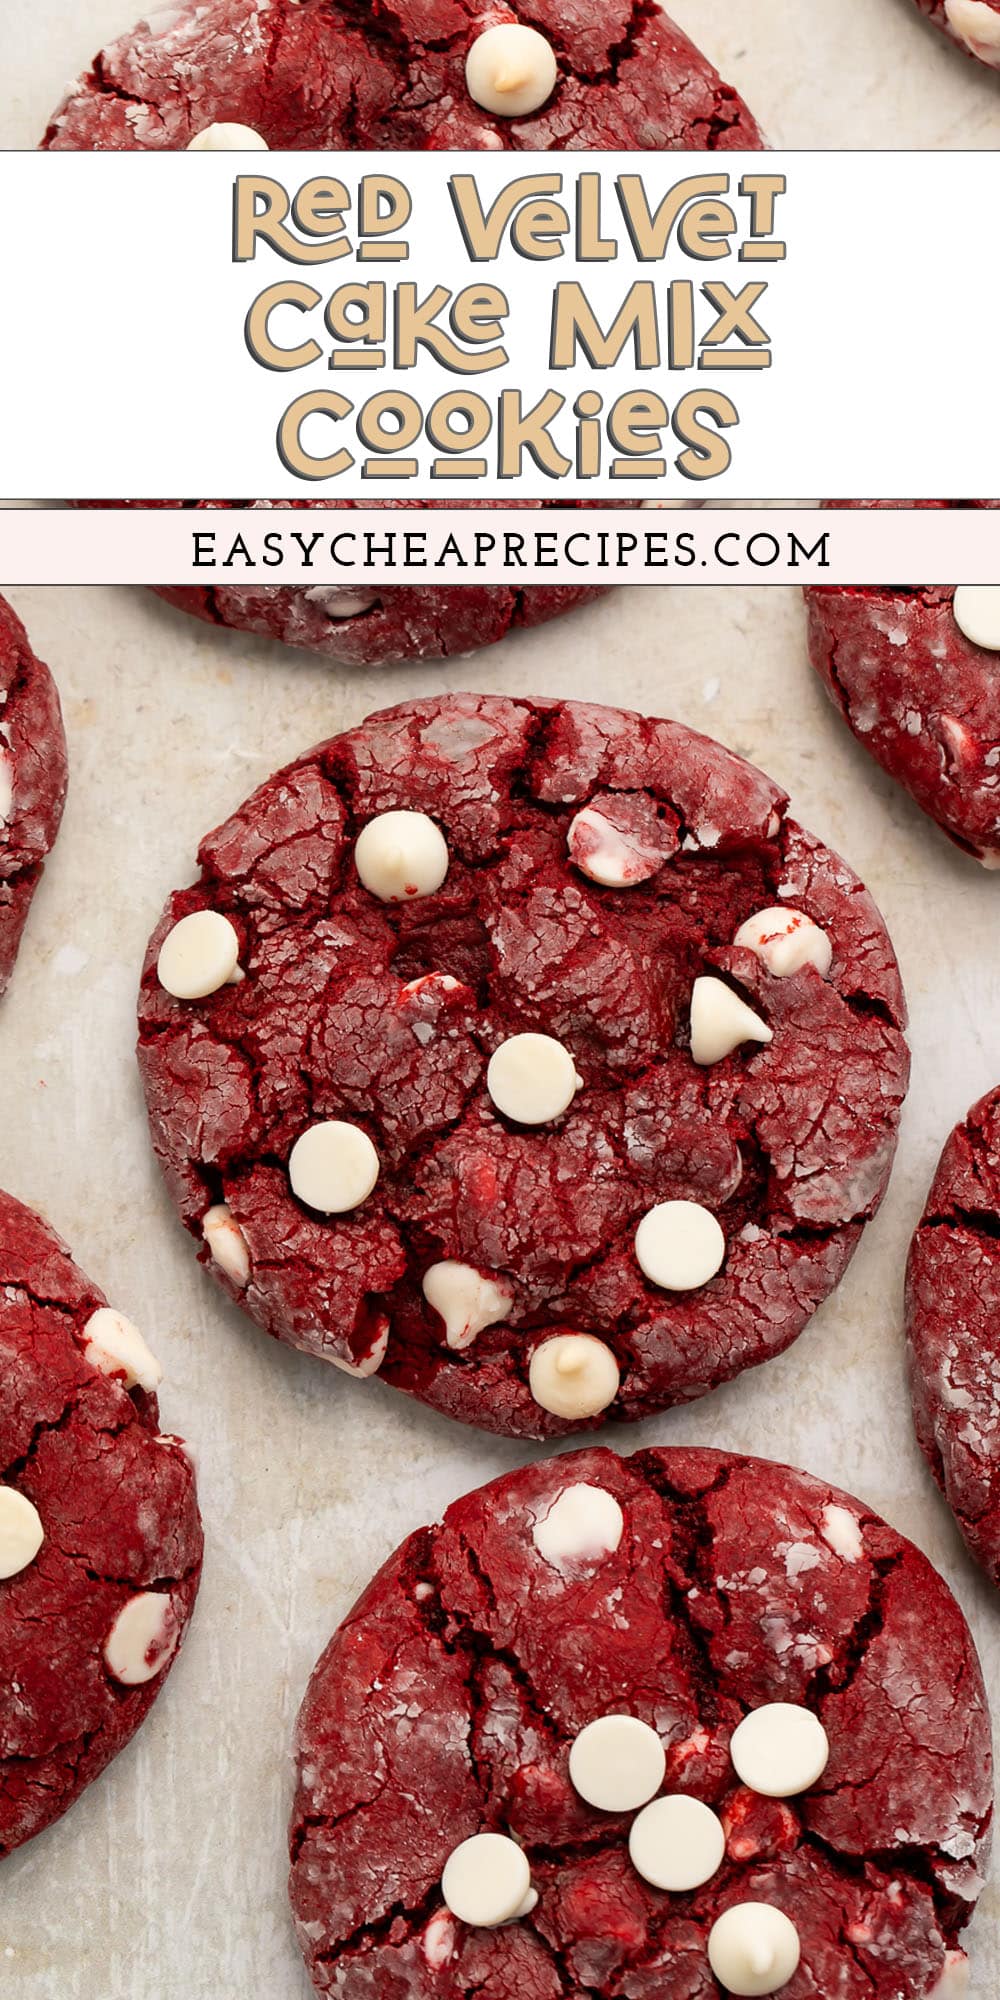


These red velvet cake mix cookies might just be the easiest cookies EVER! With only 5 ingredients, they’re tender and sweet, packed with red velvet flavor, white chocolate chips, and rolled in powdered sugar for a crinkle look. Perfect for a cookie exchange, the holidays, or any time you need delicious cookies!
🍪 What Makes This Recipe So Good
- Red velvet cake mix cookies are the absolute BEST cookies to bake when you need something rich, sweet, easy, and cheap. They use just 5 ingredients total, one of which is the red velvet cake mix itself, and they come out to roughly $0.25 per cookie (depending on how many you make). They’re also ready in 30 minutes or so, which makes them pretty much perfect.
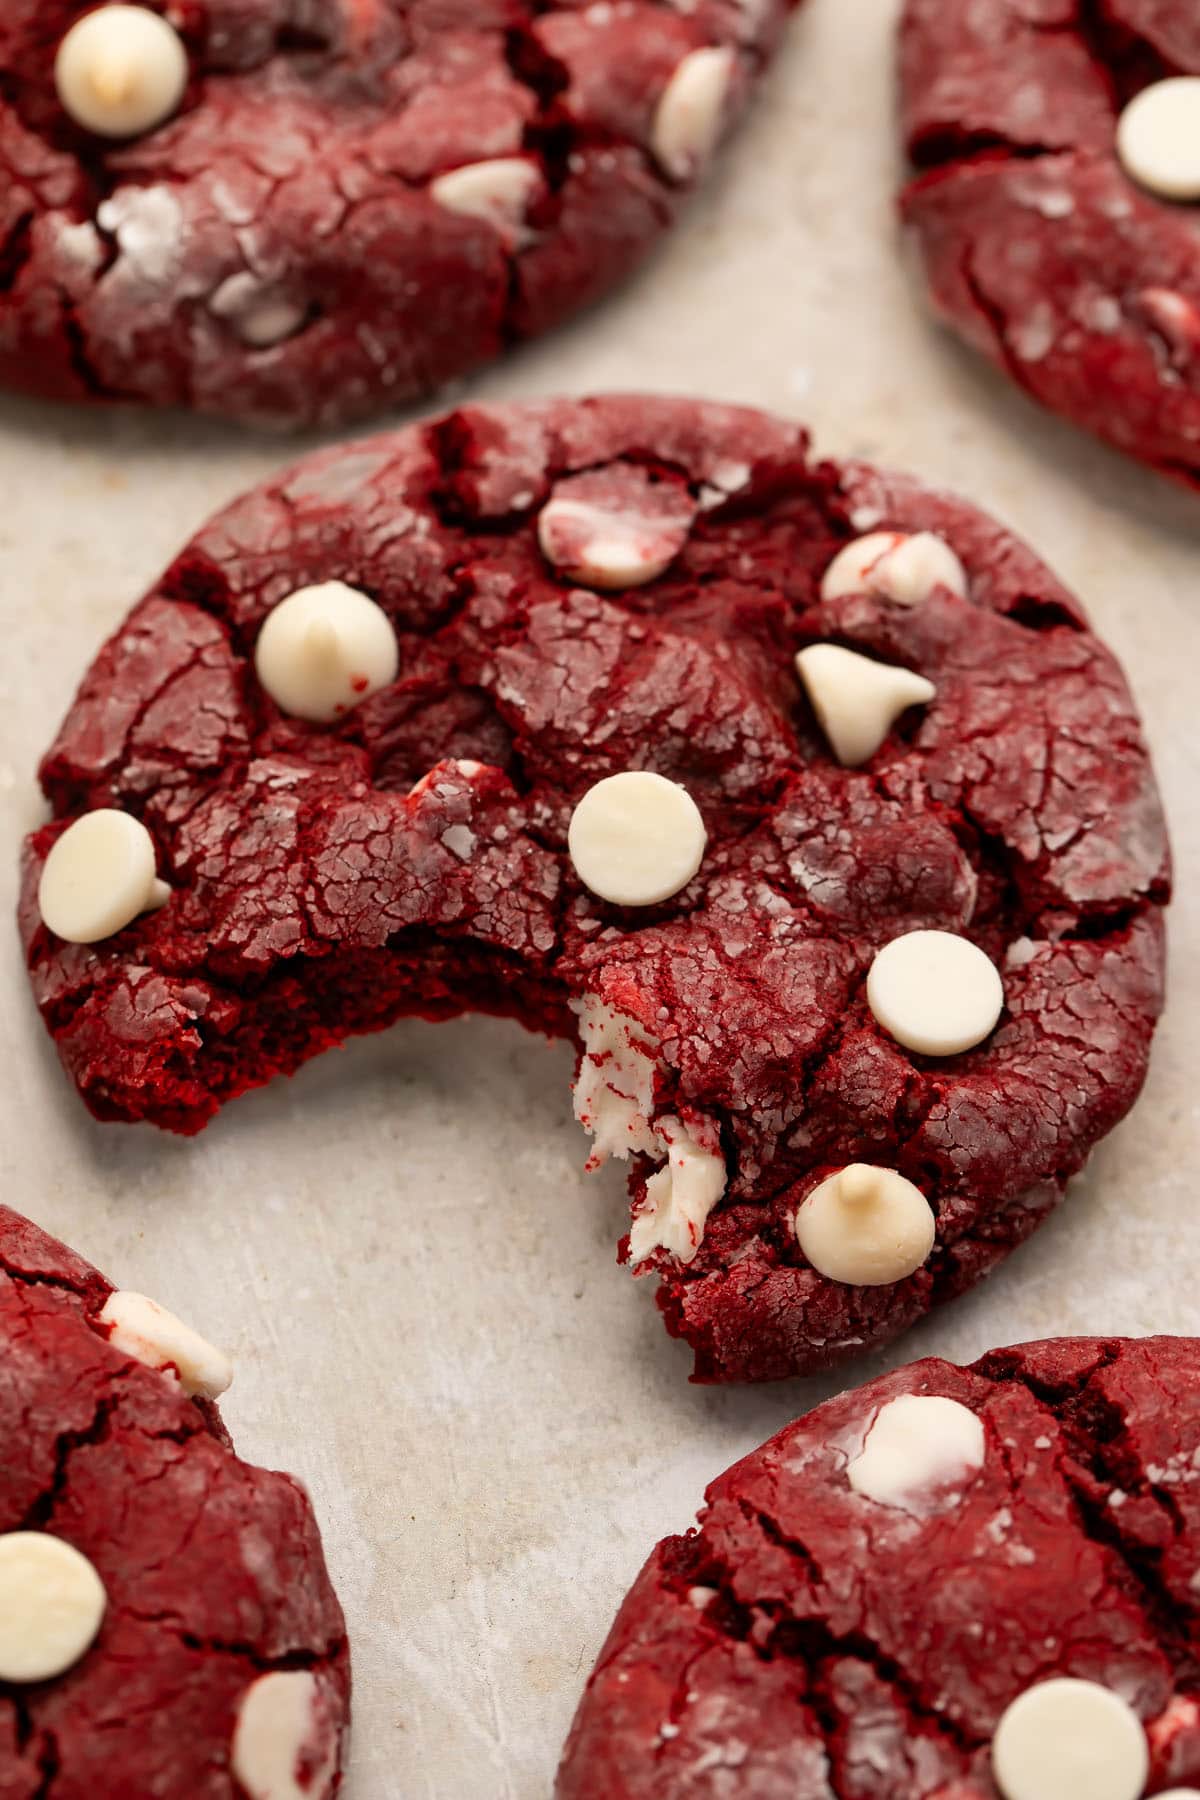
- Even though cake mix is the main ingredient here, these red velvet cookies don’t turn out dense or cakey. The opposite, actually! They’re soft and moist and chewy. The powdered sugar on the outside gives them a little bit of crunch, too. It’s amazing!
- My red velvet lovers know the struggle of finding an indulgent red velvet treat, biting into it, and getting that disappointing, way-too-chocolate, out-of-balance flavor. Since you can use your favorite red velvet cake mix, though, you won’t have to worry about that with these cookies! Each one will taste exactly how you want it to.
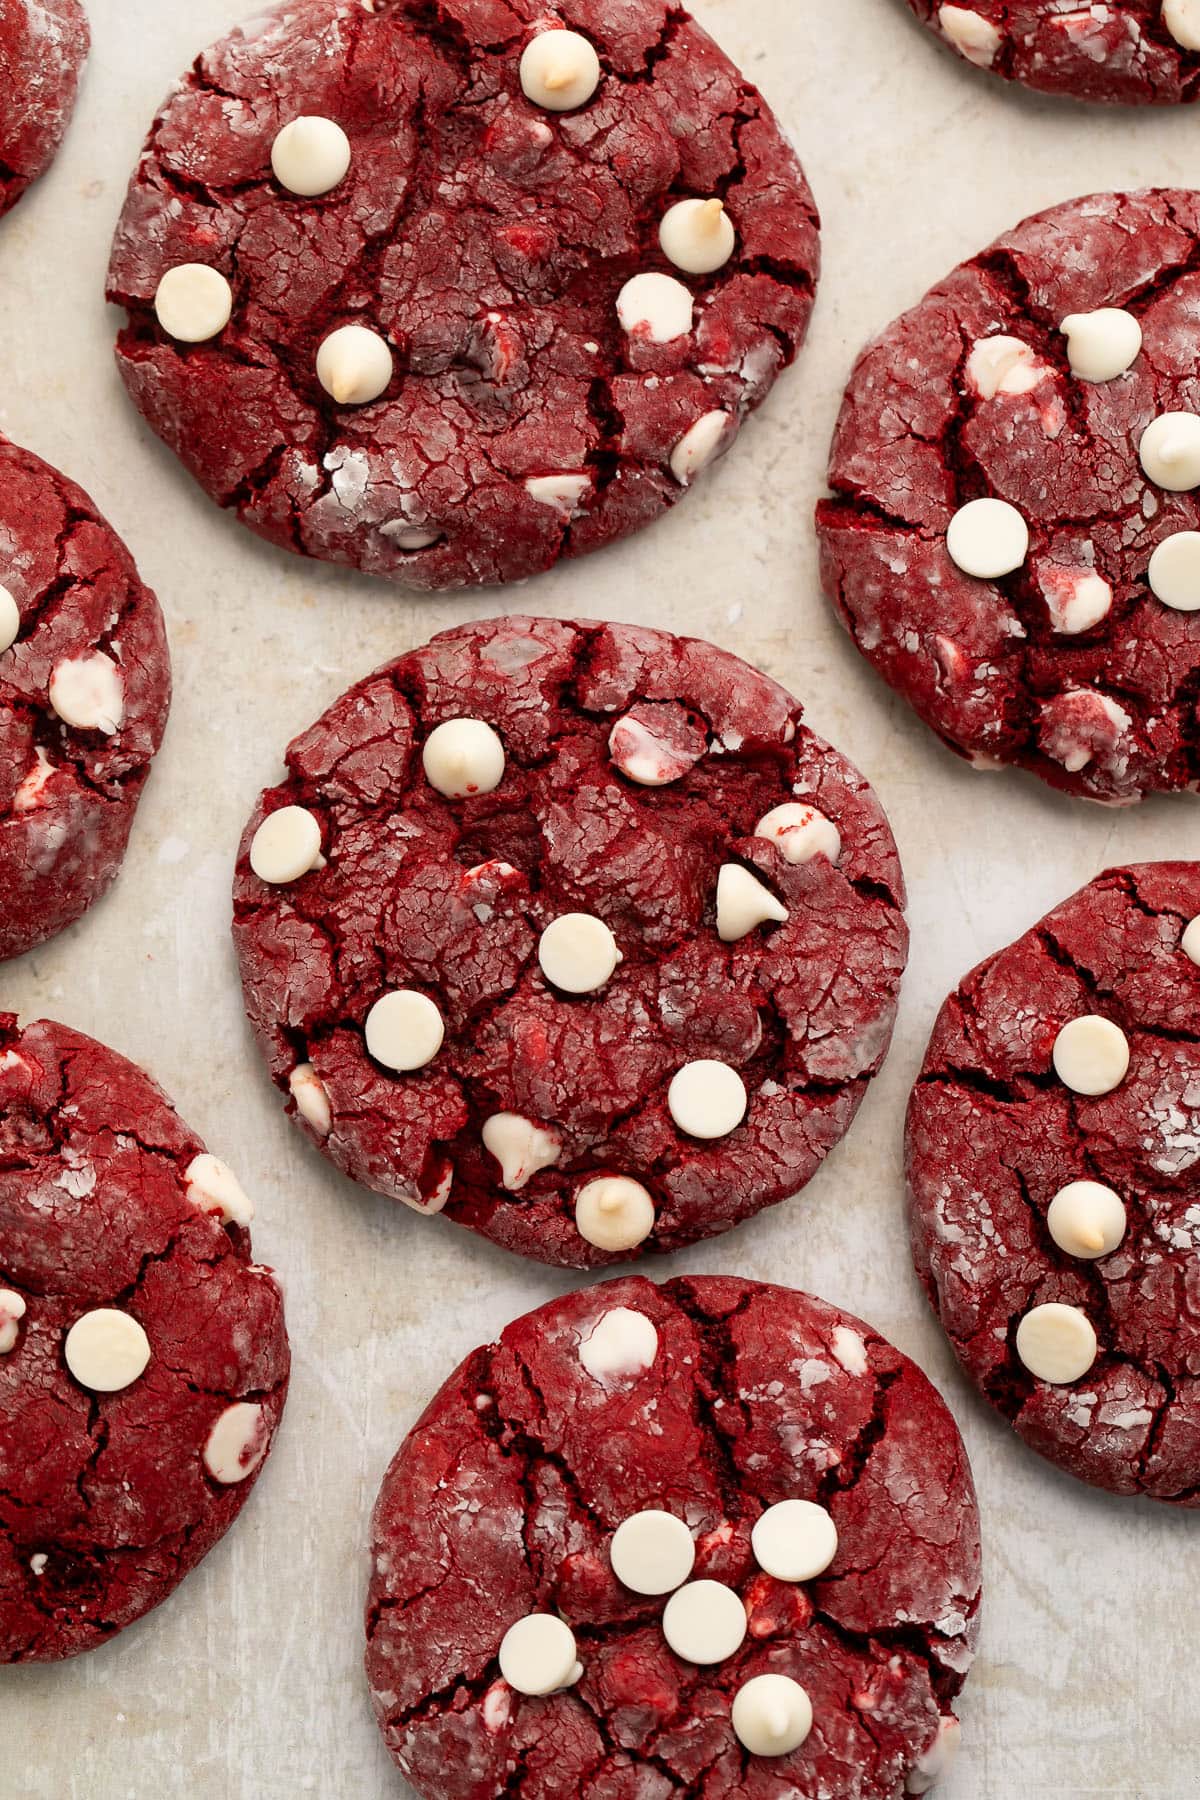
- They’re fun and festive, so they’re great for holidays like Christmas and Valentine’s Day. You’ll love the pop of gorgeous deep red color on your dining table. You can dress them up however you like depending on the occasion, too. Skip the powdered sugar. Use dark chocolate chips instead of white chocolate chips. Forget the chocolate entirely and roll the cookie dough balls in gold sanding sugar for a Gryffindor House party. Feel free to get creative!
This recipe is part of The Sweetest Season, an annual virtual cookie swap co-hosted by Erin of The Speckled Palate and Susannah of Feast + West. Each year, a group of food bloggers get together to during the first week of December to share new holiday cookie recipes for you to make, gift, and enjoy.
This year, The Sweetest Season is raising money for Cookies 4 Kids’ Cancer, a recognized 501(c)3 non-profit organization dedicated to funding research for new, innovative and less-toxic treatments for childhood cancer.
Since 2008, Cookies for Kids’ Cancer has granted nearly $18 million to pediatric cancer research in the form of 100+ research grants to leading pediatric cancer centers across the country. From these grants have stemmed 35+ treatments available to kids battling cancer today.
Help us raise money for this important cause! Click here to donate through our fundraising page.
Through the end of 2023, OXO will be matching every dollar raised for Cookies for Kids’ Cancer through the end of 2023, up to $100,000. Whatever money we raise will automatically double on our fundraising page!

👩🏼🍳 Chef’s Tips
- When it comes to baking dark-colored cookies, you can’t really rely on visual clues the way you can with light-colored cookies. Not the same visual clues at least! Gingerbread, chocolate cookies, red velvet cake mix cookies, and any others with a dark dough won’t develop golden brown edges the way shortbread cookies or chocolate chip cookies do. Instead of looking for a color change, watch for the edges to become almost dry-looking. Not dried out, of course, but definitely set. The centers of the cookie tops should look set, too, but less so than the edges – the tops should still look a little underbaked.
- Use parchment paper to line your cookie sheets rather than spraying the pans with cooking spray or greasing them with butter. Not only is parchment paper less messy, it’s also more reliable. Cooking spray and butter can make the cookies spread too much and not rise enough, throwing off the texture. They can also make the bottom of the cookies burn since you’re literally cooking the dough in a layer of fat.
🧁 Other Sweet Recipes You Don’t Want to Miss
- Taylor Swift Chai Cookies
- Vanilla Brownies with Buttercream Frosting
- Strawberry Cake Mix Cookies
- Christmas Confetti Cookies
- Twix Cookies
- 2-Ingredient Magic Shell Ice Cream Topping (Sugar Free)
- Oatmeal Cranberry Cookies
- Banana Pudding Brownies
- Hot Cocoa Dip
- Fried Chicken Ice Cream
- Italian Amaretti Cookies
- Keto Peppermint Layer Brownies
- Fluffy Gluten-Free Gingerbread
- Mochi Brownies
- Soft & Chewy Butterscotch Cookies
- Gluten-Free Christmas Cookies with Homemade Icing
Red Velvet Cake Mix Cookies
Equipment
- oven
- 1-2 cookie sheet(s)
- parchment paper
- gallon-size sealable plastic bag
- stand mixer bowl (or large mixing bowl)
- stand mixer (or hand mixer)
- flat beater attachment for stand mixer (or beater attachments for hand mixer)
- cookie scoop with release handle
- spatula
- 1-2 wire cooling rack(s)
Ingredients
For the Red Velvet Cake Mix Cookies
- powdered sugar (enough to lightly coat cookies)
- 1 13.25-ounce box red velvet cake mix (any brand)
- 2 large eggs (at room temperature)
- ⅓ cup vegetable oil
- 1 cup white chocolate chips (any brand)
Instructions
- Preheat oven to 350° Fahrenheit. Line cookie sheet(s) with parchment paper and set aside. Add powdered sugar to gallon-size sealable plastic bag and set aside.
- Add 1 13.25-ounce box red velvet cake mix, 2 large eggs, ⅓ cup vegetable oil, and 1 cup white chocolate chips to mixing bowl. Use mixer on low speed to incorporate ingredients, then increase speed to medium and mix until ingredients are fully combined into thick cookie dough. Be careful not to overmix.
- Using cookie scoop with release handle, scoop cookie dough into portions of desired size.
- Roll each scoop of cookie dough quickly between palms of hands to smooth scoop into round ball shape, then place cookie dough ball in bag of powdered sugar. Repeat until several cookie dough balls have been formed, then seal bag of powdered sugar and shake bag to coat cookies in sugar.
- Remove coated cookie dough balls from bag, shake excess sugar back into bag, and transfer cookie dough balls to lined cookie sheet(s). Leave approximately 2 inches of space between each cookie dough ball to allow dough to spread while baking.
- Repeat process until all cookie dough has been formed into dough balls, coated in powdered sugar, and transferred to cookie sheet(s). Gently press cookie dough balls with spatula to flatten slightly, making sure each cookie is evenly thick from edge to edge. See Notes.
- Place cookie sheet(s) in preheated oven. Bake cookies 6 minutes, then begin checking doneness. Continue baking as needed, checking cookies frequently. Remove cookies from oven when edges are just set and centers are still slightly underbaked and soft. Note: if unsure about timing and doneness, removing cookies early is better than removing cookies late!
- Once cookies seem ready, remove cookie sheet(s) from oven and set aside. Let cookies rest on cookie sheet(s) 5 minutes.
- After 5 minutes, carefully remove cookies from cookie sheet(s) with spatula and transfer cookies to wire cooling rack(s). Let cookies cool to room temperature, then serve as desired.
Notes
- Actual number of cookies will depend on size of cookie dough balls.
- Prepared Dough: If the cookie dough is sticky or hard to work with after mixing, put the bowl in the fridge for 30 minutes or the freezer for 15. Chilling the dough can make it more manageable and help it release from the scoop more easily.
- Flattening Cookies: You can use the back of the spatula, the bottom of a drinking glass, or your fingers to flatten the cookies as much or as little as you like. Just make sure each cookie is evenly thick all the way across. Try to keep all the cookies as uniform as possible, too. Thinner cookies (or areas) will bake faster than thicker cookies (or areas).
- Bake Times: Actual total bake time will vary depending on the altitude of your kitchen, the pans you use, the age of your oven, the efficiency of your oven, the size of your cookies, the thickness of your cookies, etc. I recommend not baking the cookies for more than 10 minutes total since they’ll continue to bake on the pans as they rest.
- Storage (Baked Cookies): Keep the fully-baked, completely-cooled cookies in an airtight container at room temperature up to 5 days or in the fridge up to 7 days.
- Freezer Storage (Baked Cookies): Once the cookies have cooled completely, return them to the cookie sheet(s), without the parchment paper. Place the cookie sheets in the freezer and let the cookies set up at least 30 minutes. After 30 minutes, transfer them to an airtight container or a sealable food-safe freezer bag and keep them frozen up to 3 months.
- Defrosting Frozen Baked Cookies: Move the desired number of cookies from the freezer to the fridge at least 8 hours before you intend to eat them. Once they’ve defrosted, move them from the fridge to the counter and let them come to room temperature. Enjoy them at room temperature or warm them in the oven at 325° Fahrenheit for 3-5 minutes.
- Freezer Storage (Unbaked Cookie Dough): Form the cookie dough into dough balls and coat them in powdered sugar as instructed. Place the coated cookie dough balls on a baking sheet and put the baking sheet in the freezer. Freeze the cookie dough balls at least 30 minutes, then transfer them to an airtight container or sealable food-safe plastic bag. Keep frozen up to 3 months.
- Baking Frozen Cookie Dough: Place the frozen cookie dough balls on cookie sheets and bake at 350° Fahrenheit. Increase the bake time by 1-2 minutes or as needed. Remove the cookies from the oven when the bottom edges are just slightly golden brown.
Recipe costs provided are approximate. Actual cost per recipe & serving will vary by location, store, brand, etc. Approximate cost shown does not include costs for any optional ingredients.
Nutrition
Nutrition Disclaimer
Number of total servings shown is approximate. Actual number of servings will depend on your preferred portion sizes. Nutritional values shown are general guidelines and reflect information for 1 serving using the ingredients listed, not including any optional ingredients. Actual macros may vary slightly depending on specific brands and types of ingredients used. To determine the weight of one serving, prepare the recipe as instructed. Weigh the finished recipe, then divide the weight of the finished recipe (not including the weight of the container the food is in) by the desired number of servings. Result will be the weight of one serving.


We are so obsessed with anything red velvet so these are calling my name! Thanks so much for participating in The Sweetest Season, Cheryl!
Thanks so much for letting us be a part of it, Susannah!
So much easier than making a big cake!
Yes, for sure! And we’re alllll about ease this time of year!
You can never go wrong with a cake mix cookie! These are so fluffy and perfect!
Thank you so much, Sam! I appreciate your review!
Such GORGEOUS cookies – the coloring makes them PERFECT for Christmas and even maybe Valentines! Thanks for this easy and oh-so-tasty recipe!
Thank you, Shashi! I totally agree – but then again, I’ll never pass up a chance to make them, even if they don’t quite look the part, haha.
These red velvet cookies were devoured by my family! So easy and so delicious!
Thank you so much! So happy the whole group loved them, Nikki, thank you for sharing!
These Red Velvet crinkle cookies look so pretty on the plate, and I’ll never tell how easy they are to make! One bowl, five ingredients, and simple to shape and bake, this recipe is truly a treasure!
Thank you so much for such a kind compliment, Eliza! I’m so happy you enjoyed them so much!
Cookies from cake mix? You KNOW I’m in! And these are so delicious, we’ll bake them again for sure.
What a compliment! Thank you so much, Erin!
The first cookies to go at our cookie exchange! Chewy and delicious and so festive!!
So happy they were such a hit, Kathleen! Thanks for sharing your review!
Such a pretty cookie for a Christmas cookie tray and so easy to make. Everyone needs cake mix cookies in their repertoire.
I totally agree! Thanks so much for your review, Ellen1
I LOVE a good cake mix cookie recipe and give me ALL the red velvet this holiday season.
No arguments from me!
These red velvet cookies were devoured by my crew! So easy and so delicious!
So glad everyone loved them! Thanks for sharing, Sheila! 🙂
cake mix cookies are the best because they’re so easy to make!
We completely agree! 😊